Triple-Checking and turn on!

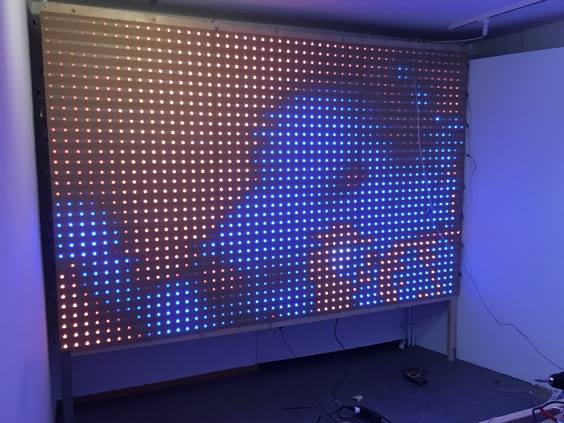
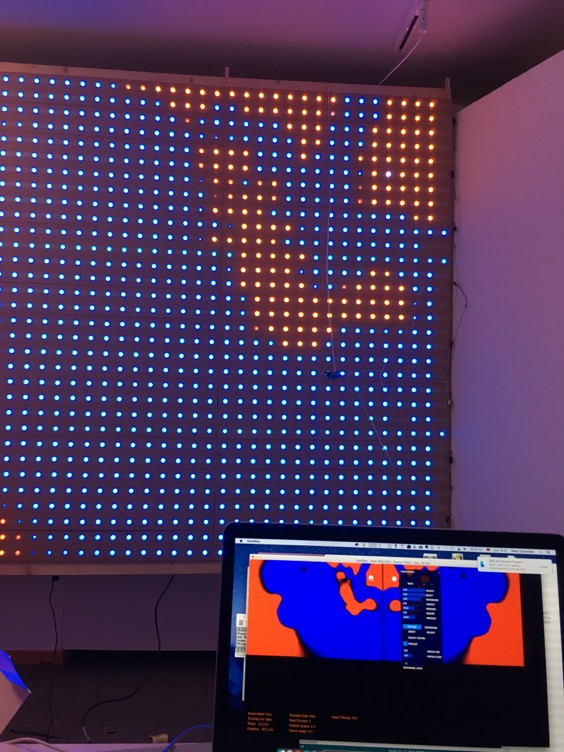
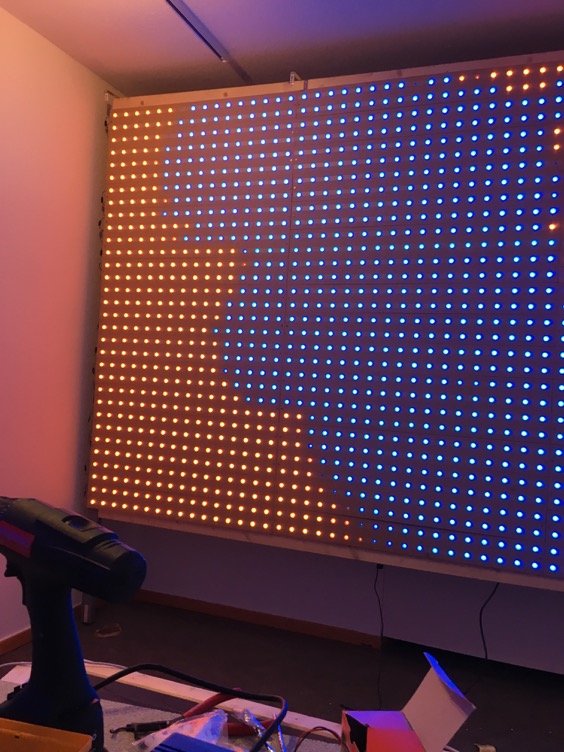
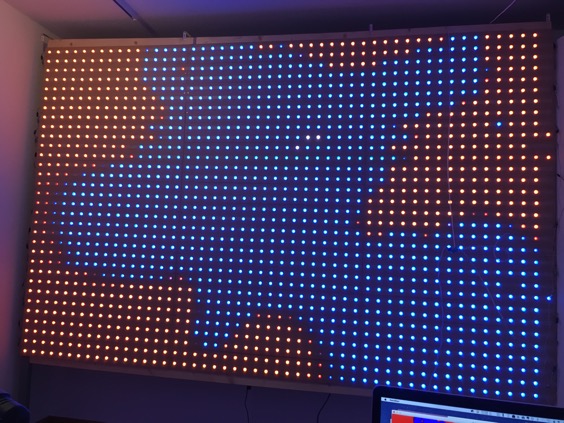
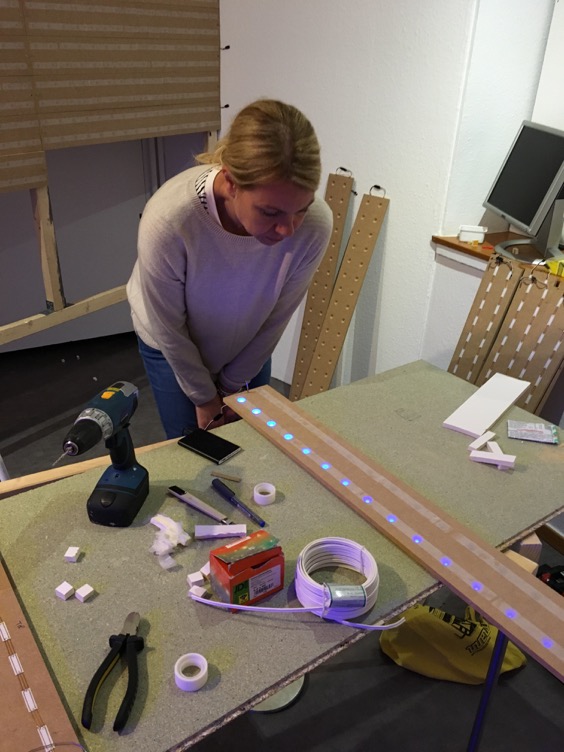
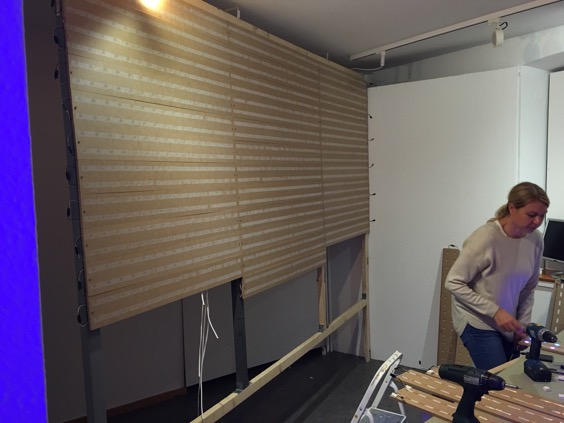
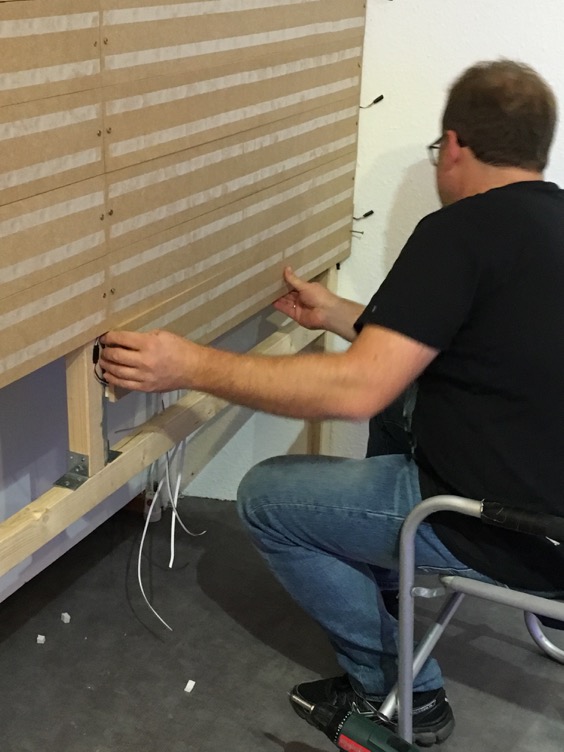
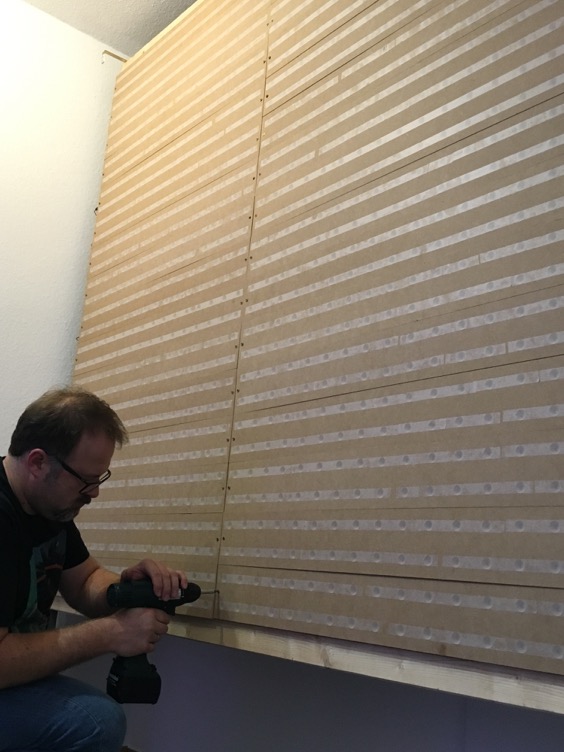
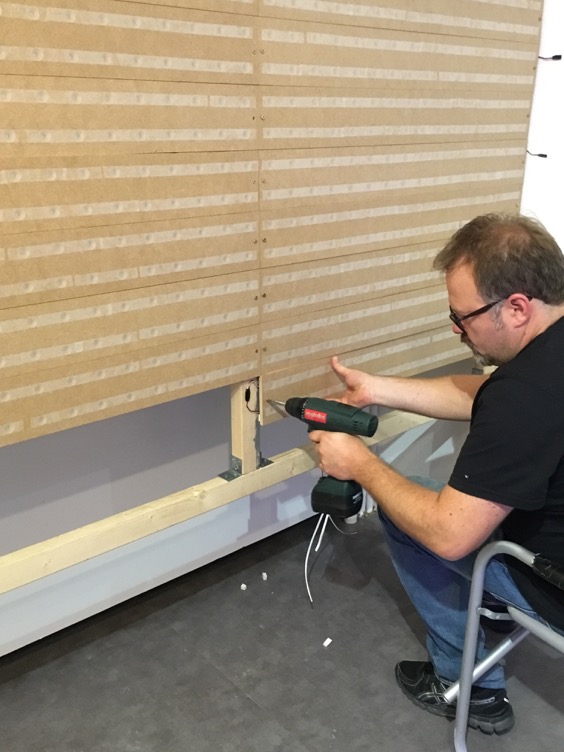
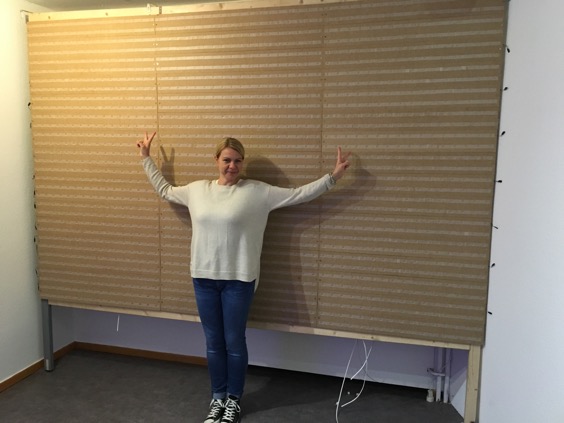
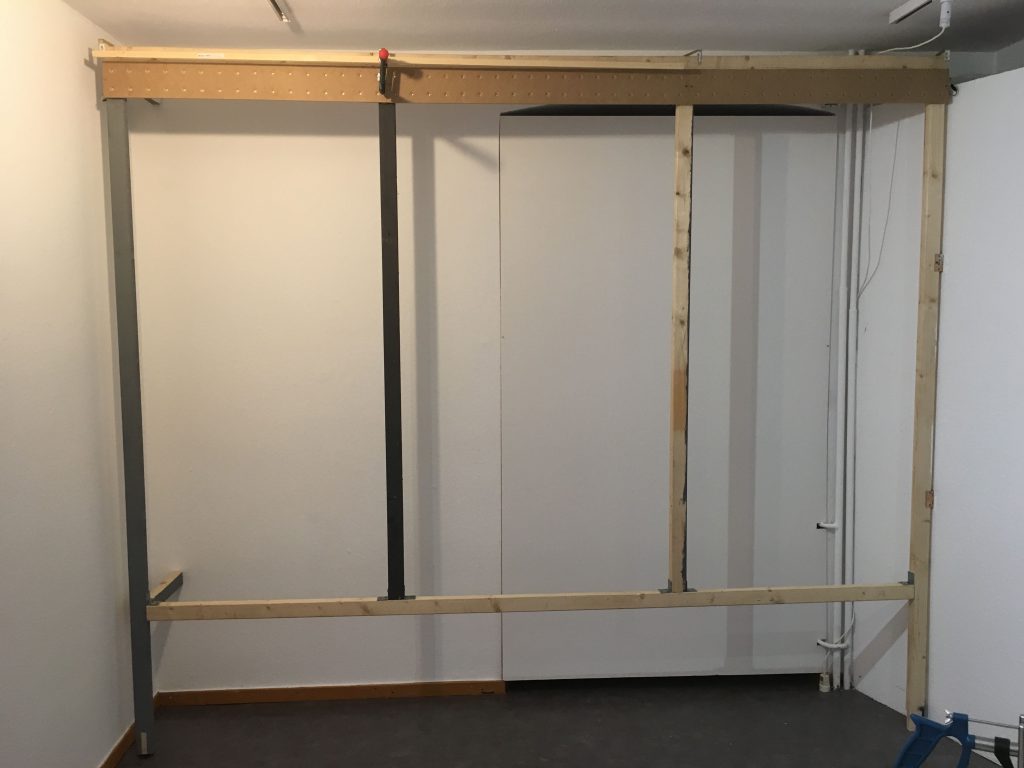
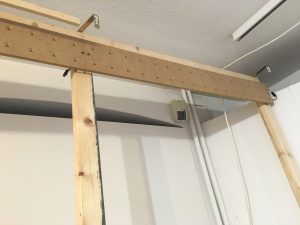
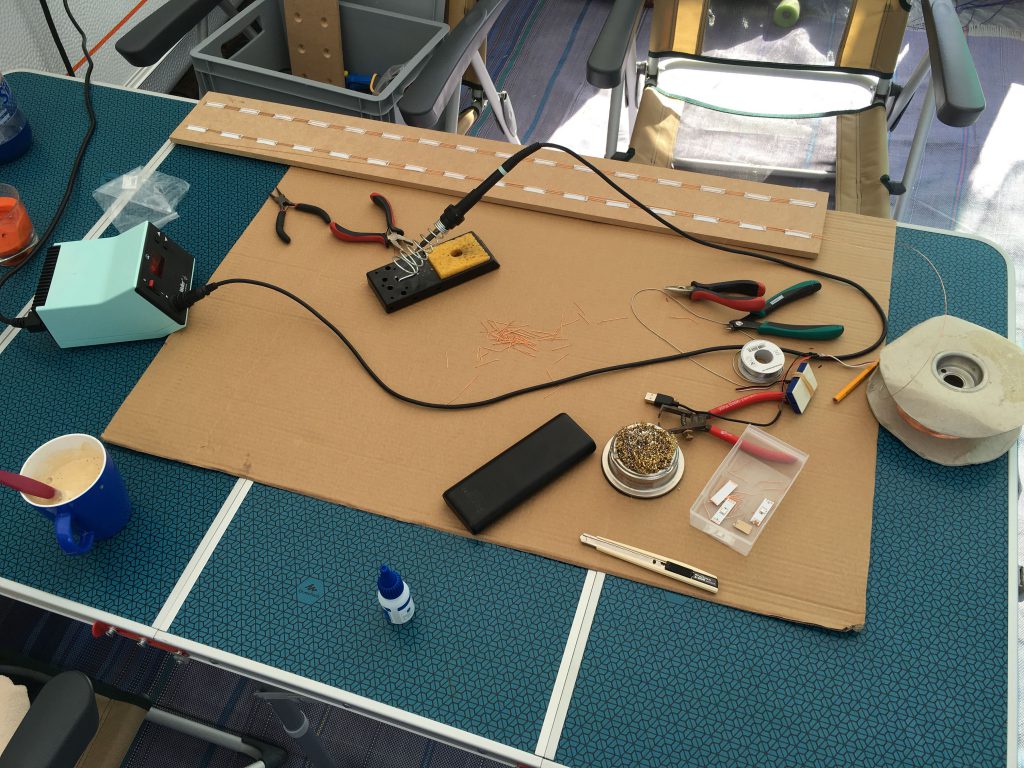
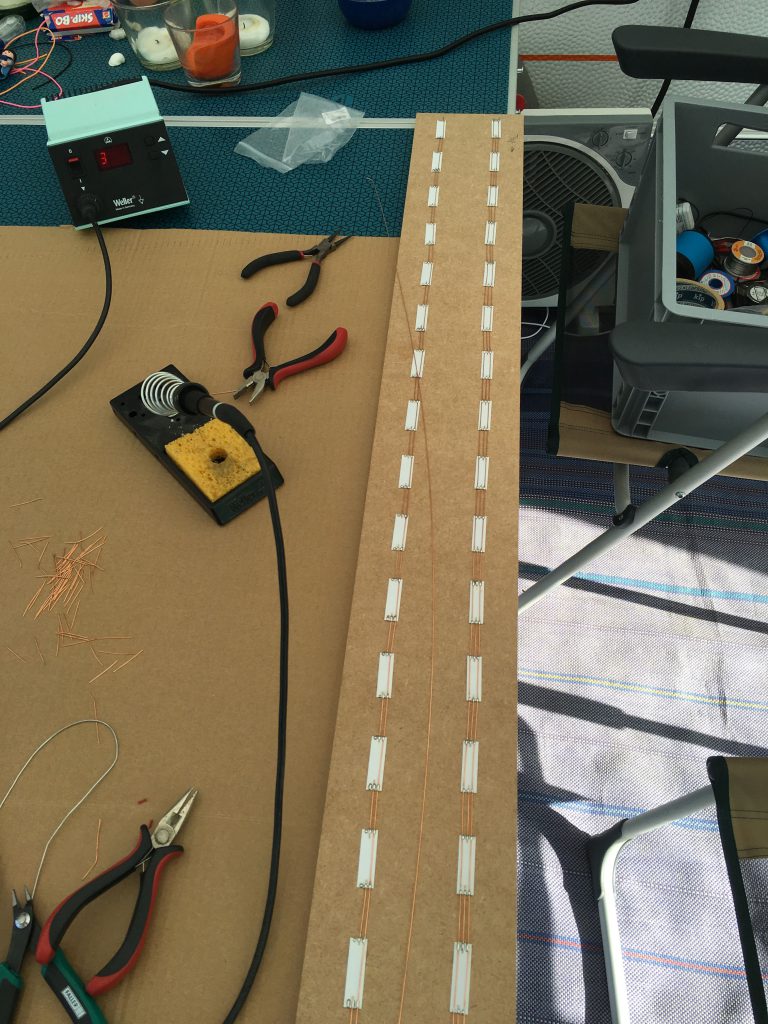
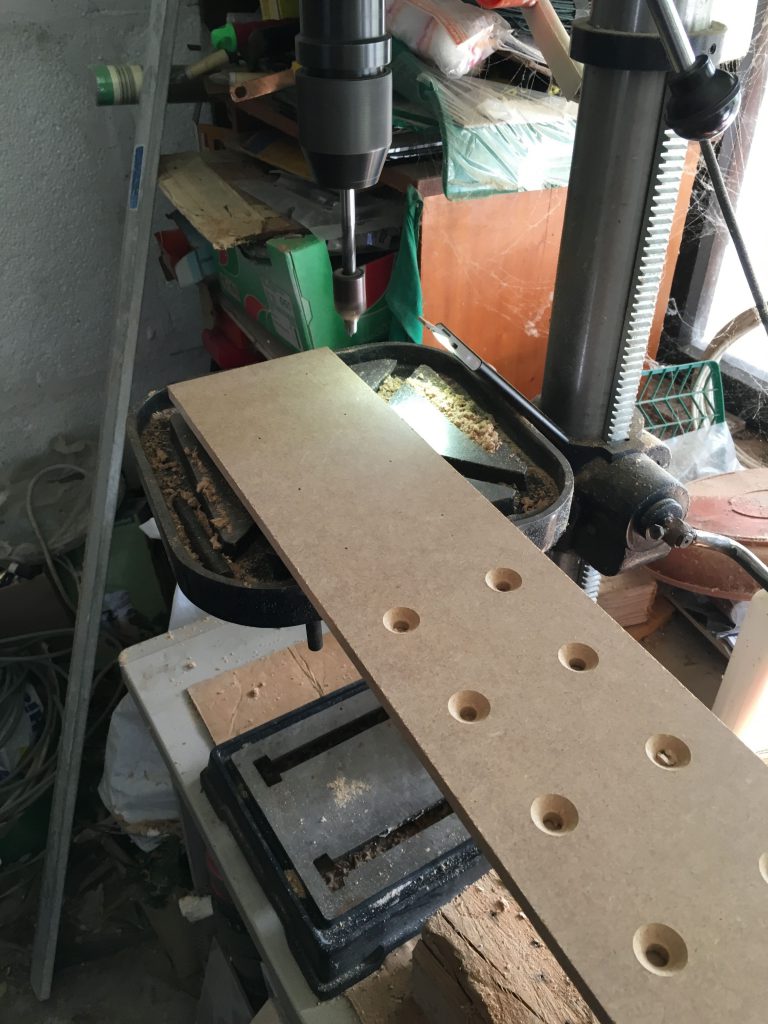
All power supplies are now installed. I checked all the connections and stride across the wall with a digital multimeter. After correcting some mistakes I turned on one supply after the other. It was a very crumbly feeling I must say, even after investing a lot of time to ensure that all connections were right.

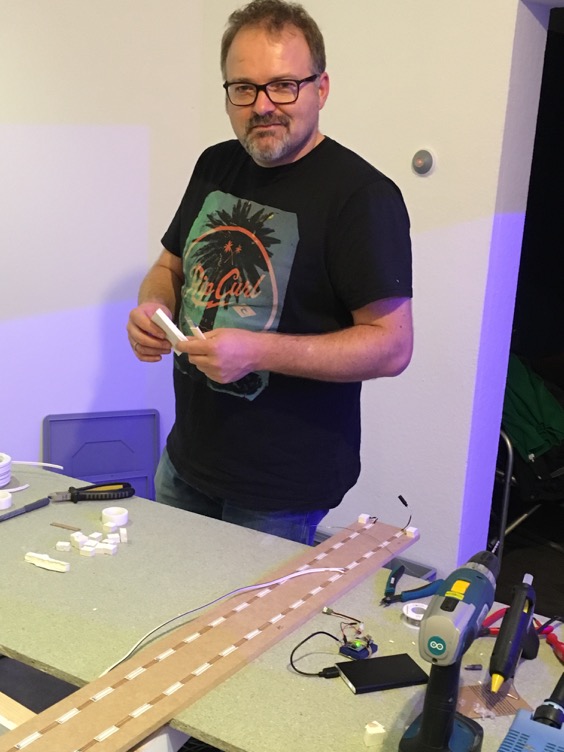
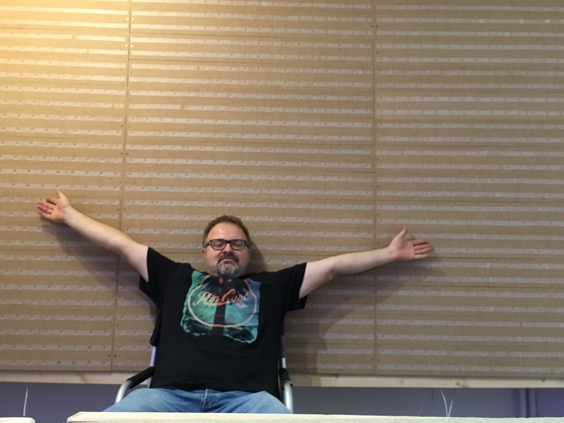
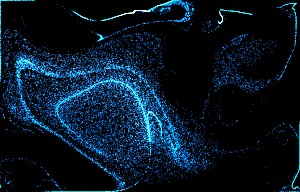
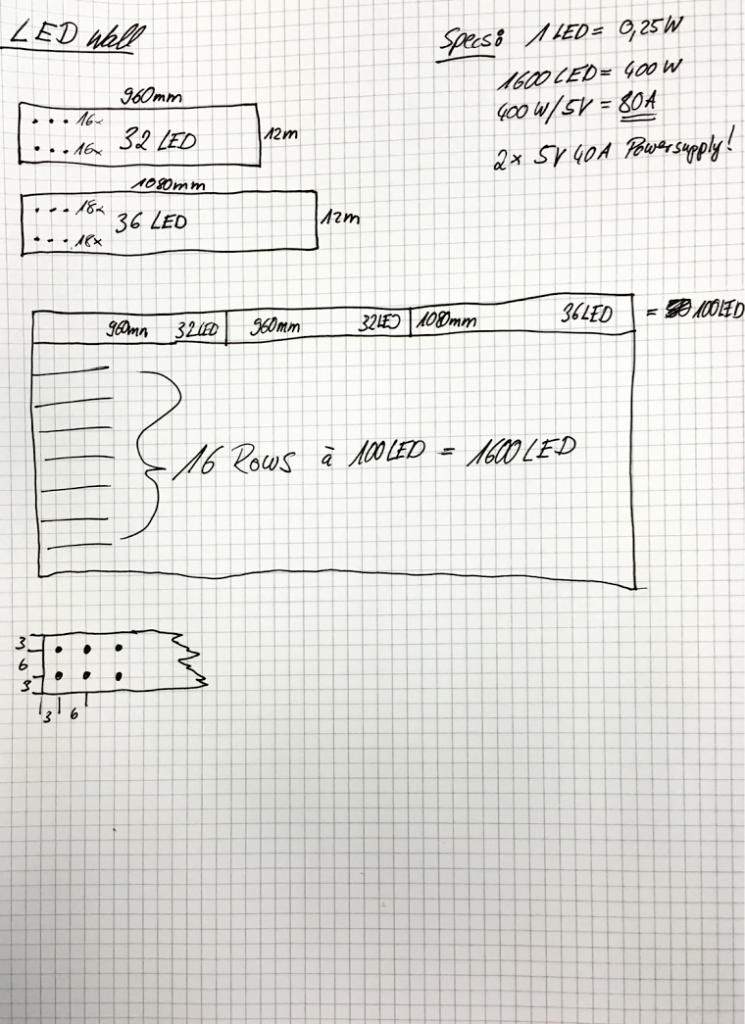
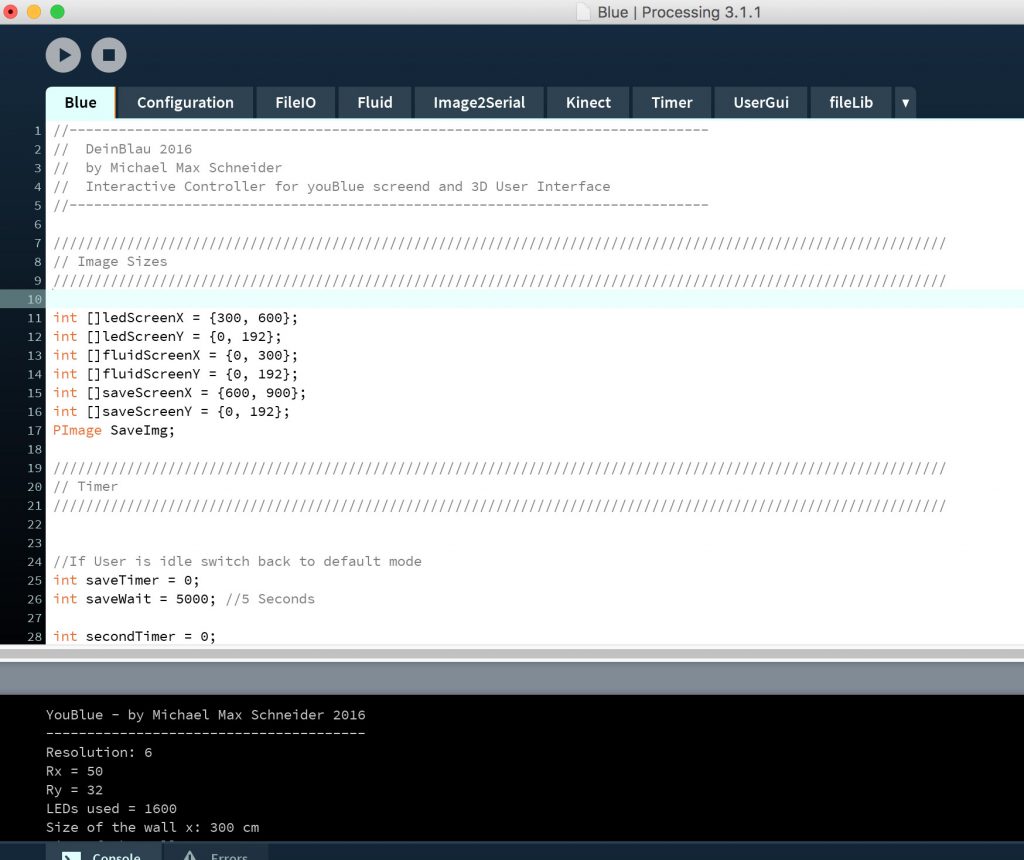
Finally it works but the failing LED’s are still a topic. Here some pictures running on the development system. 3D functionality is not there yet. Also the planned foot switches to freeze and save the image are not installed yet.

img_7518
The wall on the first run.
img_7514
The wall connected to the development system. At least I can say that one controller for 1600 LED’s is sufficient. This will save me some time and code.

img_7513 img_7511

Installation Time! – A weekend of uncertainty…

Last weekend was the time to install the panels at the museum. Since it turns out that the drilled holes are not so smooth as expected I needed to cover all holes with something to make the individual led’s more diffuse.

Cut a long story short, I had to cover all the holes with transparent dull tape. Nicole helped me here this weekend. Without her engagement and detailed work it would not be possible to reach the goal. Finally we placed the last panel on the wall at 1:00am.

Unfortunately we see some of the WS2812b LED’s failing and I currently hope that this is only a handful. I am not sure if this happens when turning on power to the wall. If I see more LED’s failing over time I will develop a “power On delay” to give the power supply’s a bit more time to settle. There is of course a chance that the power supply overshoot when turning on.

So uncertainty stays until the reliability of the wall meets my expectations. Tomorrow I will install all the remaining power supplies after triple-checking the wiring.

img_7477
Soldering the power supply inputs
img_7479
We are getting there…
img_7480
Some more panels to go
img_7485
Nicole checking if the applied tape covers all the holes fully. She developed to a real “Maker” on that weekend. Without her, I would not be able to install the wall on that weekend.
img_7487
Some more rows to go.
img_7478
Me cutting distance blocks for the panels.
img_7493
Impressive backside of the wall. Here you see the 9000 soldering points and the copper wires.
img_7498
Backside other angle.
img_7500
Installing, connecting and fitting a panel to the wall.
img_7505
Installing a panel.
img_7501
Screwing a panel.
img_7508
Done with the help of…
img_7510
Nicole!

All panels soldered!

The last panel is now soldered and next activity is to install the panels at the museum. This will for sure be another challenge. Also this will be the first time I can see wether one controller for the screen is sufficient. Just in case I ordered a 2nd controller and modified the firmware for both so that I can run 800 LED’s per controller. This will leave some headroom for safety.

We are getting there…

Beside soldering I am also working on the code. There will be several controller involved. One will control the LED panel. The Firmware for this one is already done. Then there is the liquid simulation and the VR 3D controller. This needs a very strong PC to ensure framerates above 50fps. First I thought that I can use an older Laptop for that, but it turns out that most of the calculations for the liquid simulation will be done on the GPU instead the CPU. This means I need to have a much stronger Graphic card, even I don’t use a monitor at all – strange, eh 🙂  – Since I also need to get the timing right and I don’t want to use a real time linux system as backend I also decided to build a computer for that. So now I am waiting for the parts and then hopefully the simulation and the VR part runs smooth.

Here some of the tiles produced on my deinBlau test system. I am very exited to see how this will then finally look on the low resolution LED screen.

deinblau51deinblau39deinblau53 deinblau56 youblue19youblue2

deinblau49

The Wall

The framework for DeinBlau is under construction. In the pictures below you can see that there is already one row of panels installed. The whole framework opens like a door so maintenance will be possible.

img_7447 img_7451 img_7448

Glueing & Soldering

After all panels are drilled I took some of them on my summer vacations. I used the early hours in the mornings to start finalizing the panels. To finish one out of the 48 panels I need one hour which means that I have to make the production more effective. The process is like this:

  1. Glue all the LEDs on the panel.
  2. Pre-solder all 6 pads of one LED with solder
  3. Cut copper wires to the length
  4. Solder the middle DATA coper wire and cut it
  5. Solder the GND and the VCC wire
  6. Add Connectors

There are two different sizes of Panels. Some with 32 some with 36 LEDs. In total it means:

9600 pads to solder
1600 LEDs to glue
500 gramm solder
200 meter of copper wire
192 connectors
96 cups of coffee
48 panels
4 bottles of glue

img_7200
Soldering in Spain
img_7203
Adding copper wires
img_7204
One final panel


Cutting & drilling started

The display of DeinBlau will have a final size of 3×2 meter. I choose MDF since the material is stiff and not too expensive. A big thank goes to Andy Enderlin who is a woodworker and runs his own company http://www.holzbau-enderlin.de/ He supported DeinBlau by cutting the MDF wood panels into slices. After marking all the panels I need to drill them. Since the panel comes with 1600 LED’s I also have to drill 1600 holes and sink them so that the light gets more spread.

img_7085
Marking the panels
img_7090
Drilling
img_7091
Final result

Art Coding

I am currently writing lots of code. I am using processing a great tool to code visual arts. The good news is that I do have already a running version including 3D controller and working output to the blueScreen via UART. The bad news is that I can only do the final testing if I have built the huge LED wall. So at the moment it is a shoot in the dark. Similar situation I had earlier this year when doing the light art for “BeOne“. BeOne was the first interactive snow sculpture in the world done by the great German Snow-sculpting Team. There I developed the hardware and the software without any chance to test it before. What can I say – we were lucky!

processing

Using the outstanding pixel flow library from Thomas Diewald made things around liquids very easy. Thomas also offered an example for particles in liquids. This example was already so much what I want that I basically just changed minor parts of it.

What is DeinBlau?

deinblau-405
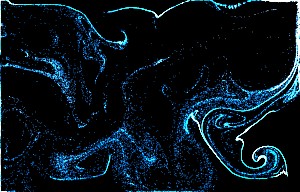
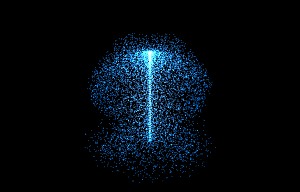
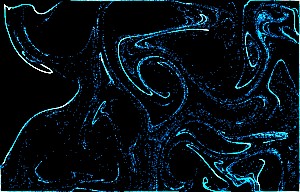
Imagine – you can influence a huge wall of blue lights just with your hand. Then, at a certain point, you push a button and freeze the picture. What you then see is yourBlue or in German DeinBlau. We will take this moment and add it to a big picture, a collage of thousands of tiles produced by all the visitors of the exhibition. So at the end you are a part of a big piece of art. Wouldn’t that be great?